Nuvla Account
Orchestration features are implemented by Nuvla. Use of Nuvla is entirely optional, although some automated deployment of systems (e.g. SLURM) will not be available otherwise.
Registration
New users may create their accounts by registering with Nuvla with their institutional credentials through the eduGAIN and Elixir AAI identity federations.
The full procedure to activate an account in Nuvla using your institutional credentials is as follows:
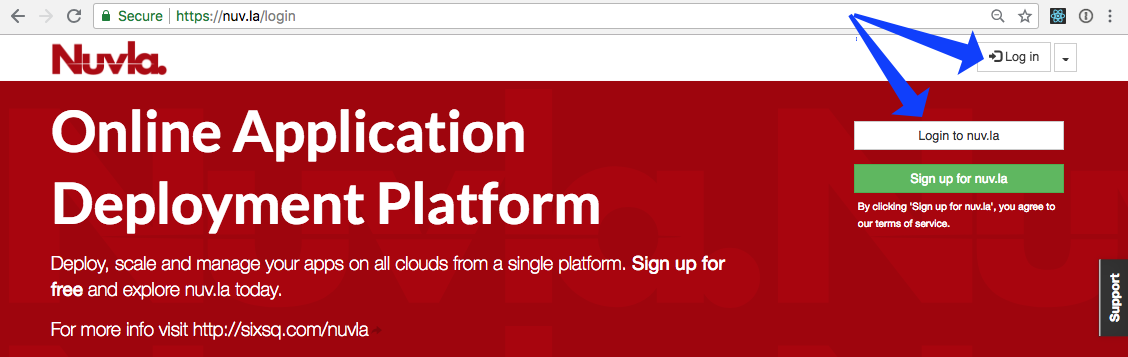
- Click on the login button which will then take you to a page to select your login method.
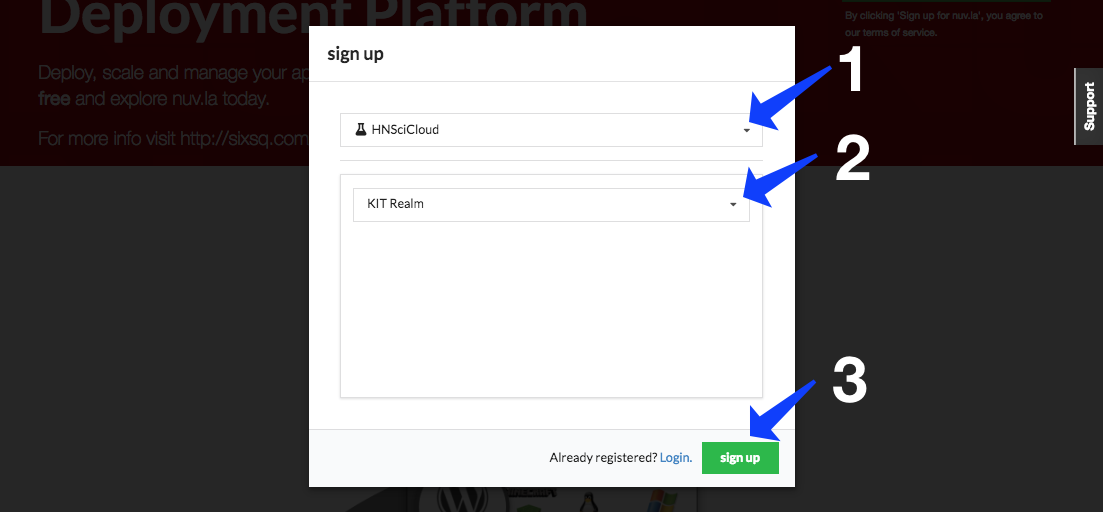
- In this dialog, HNSciCloud should select “HNSciCloud” and then select their realm (or tenant) as shown in the figure below. Then click on the “sign up” button.
This will redirect users to their respective login realm in SixSq’s Federated Identity Portal. This portal is SixSq’s authentication and authorization infrastructure (AAI) and it uses Keycloak and simpleSAMLphp underneath in order to make the authentication bridge between client applications (like Nuvla) and identity federations like eduGAIN and ELIXIR AAI (using SAML2.0).
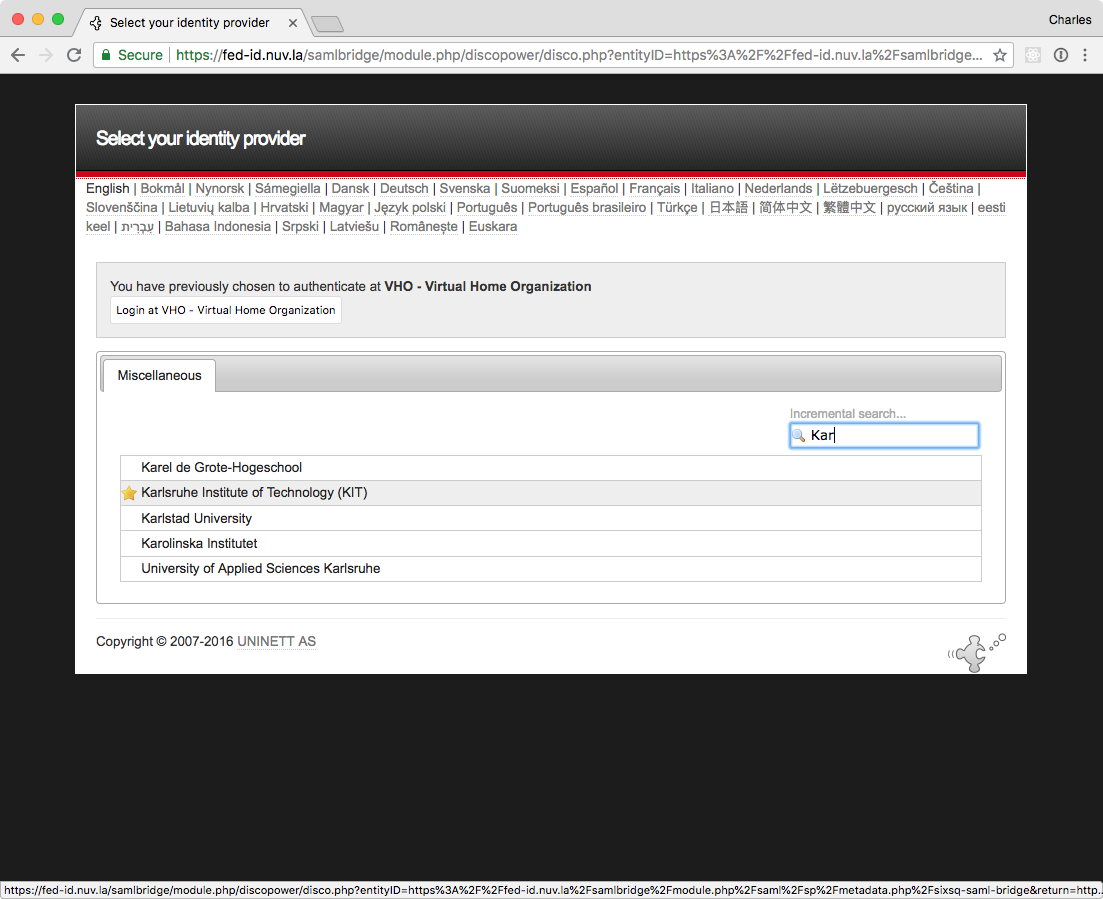
- Users shall then select which identity federation they want to use, either eduGAIN or ELIXIR.

- For both eduGAIN and ELIXIR, users will then be presented with a comprehensive list of identity providers and a search field.
eduGAIN:
ELIXIR:
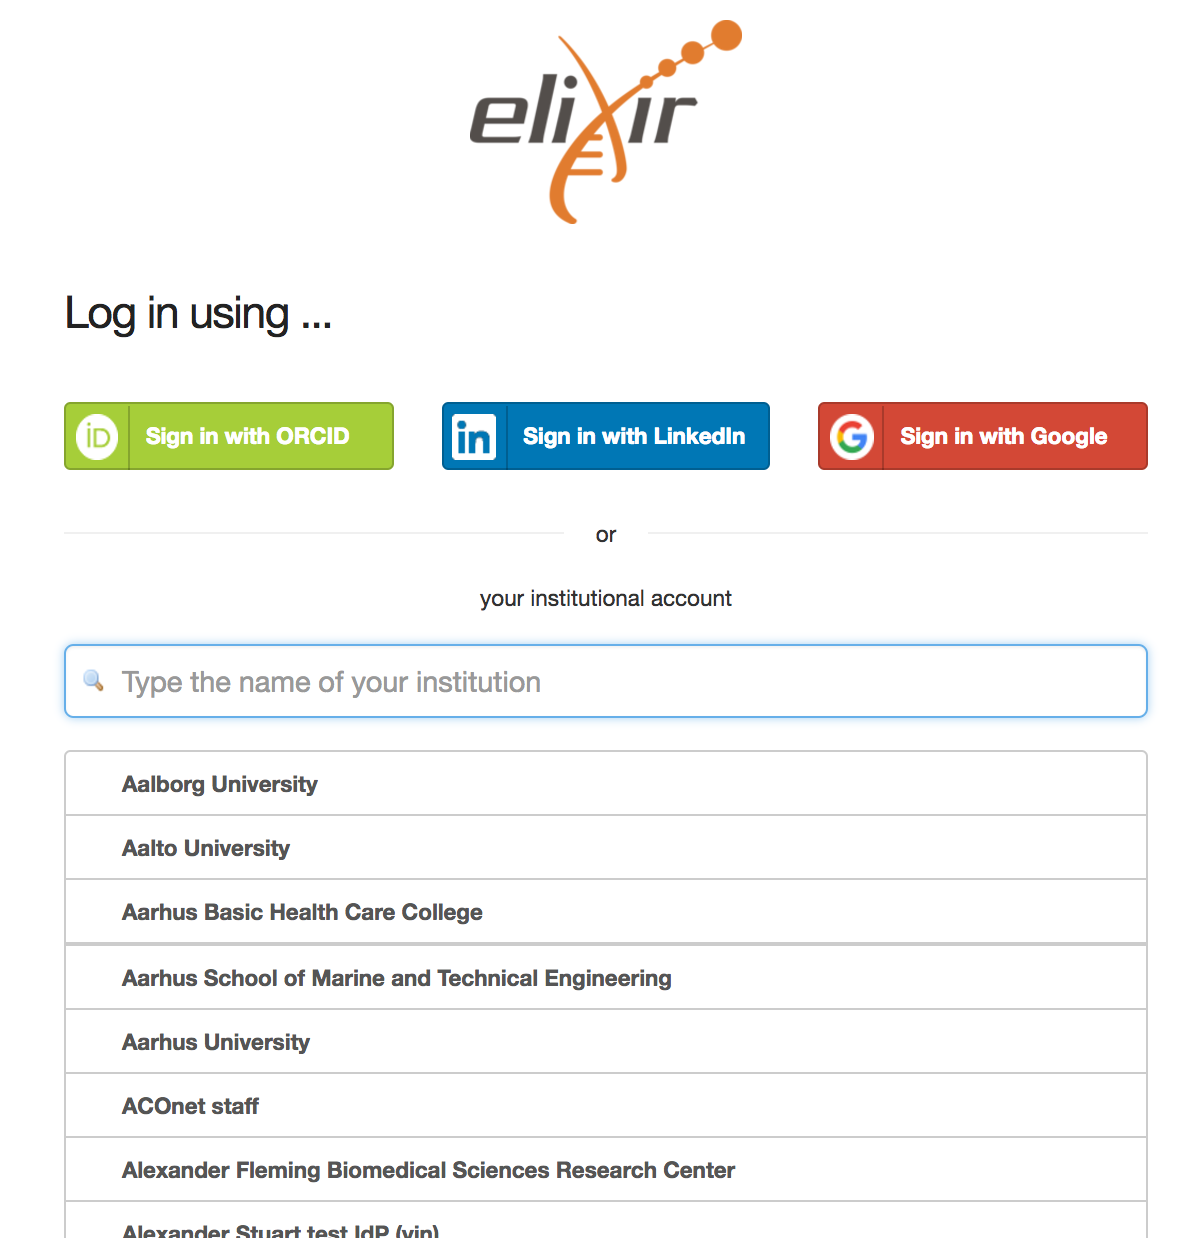
Upon selection of the identity provider, users will be redirected to their institute’s login page.
- When successfully authenticating with the identity provider, the user will then be redirected back to Nuvla.
Warning
Currently there is no “success” message when you are sent back to Nuvla. When you arrive back on Nuvla, just login via one of the “Login” buttons.
To login, click on one of the login buttons, select the authentication and tenant (realm), and then click the green “login” button.

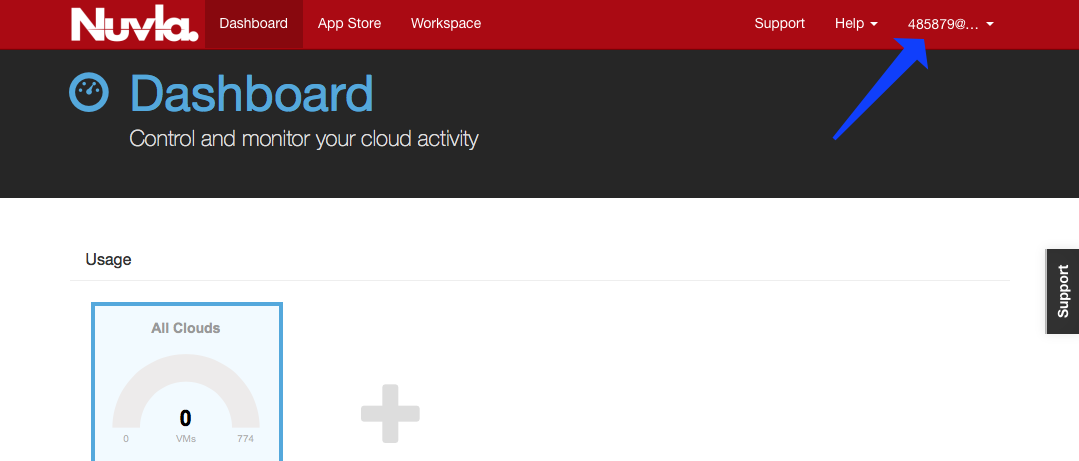
- Depending on how recently you authenticated with your identity provider, you may be requested to authenticate again or simply logged in automatically. When you login, you will normally be redirected to the Nuvla dashboard.
Note
The first time you login you will be redirected to the App Store and offered the chance for a tutorial. This will not appear on subsequent visits.
- Users that are an ACCOUNT MANAGER must send an email to support@sixsq.com asking admin rights to the tenant, which shall be granted by SixSq, in SixSq’s Federated Identity Portal, where the account managers can then manage users, groups and roles (as described in here).
- STANDARD USERS may want to contact the account manager for their realm so that the manager can assign roles to them or add them to a group. (This configuration may or may not be done automatically.)
Account Configuration
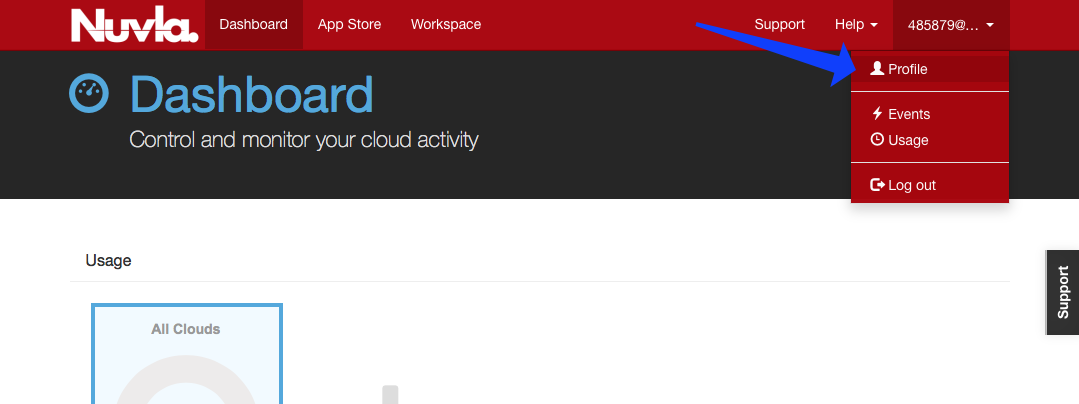
To use Nuvla to provision the data management services or cloud applications on the IaaS cloud infrastructures, you must configure your Nuvla account. To access your user profile, click on “Profile” link under your username.
To update your user profile, click on the “Edit…” on the right side below the page header.
Remote Machine Access
To allow you have remote access to the (Linux) virtual machines that you deploy, you should provide a public SSH key. Once this key has been added to your profile, Nuvla will automatically configure all deployed virtual machines with this key, giving you ‘root’ access to your deployed machines. The instructions for creating an SSH key pair and configuring your profile can be found in the Remote Machine Access section of the SlipStream documentation. This documentation also describes the installation of a “Remote Desktop Connection” client for accessing Windows machines.
Cloud Credentials
In order to be granted access to the Exoscale cloud credentials, technical users must contact their account managers, asking for a specific user role (can_deploy) to be given to them, as described in Cloud Provider Configuration.