Manage Groups
To simplify, groups are to be considered the same as sub-tenants, as they provide the required isolation level.
Groups can be managed through the Keycloak’s UI within SixSq’s Federated Identity Portal.
Upon registration in Nuvla, account managers will be given (if requested) admin privileges in their respective tenant. Tenant account managers belong to the admin group in Keycloak, and have full management privileges within that realm.
Below follows a comprehensive list of actions that can be performed group-wise.
Create New Group
Groups can be nested within each other which allows account managers to define hierarchies. Here we refer to top level group and subgroup as being the main group and the ones within it, respectively.
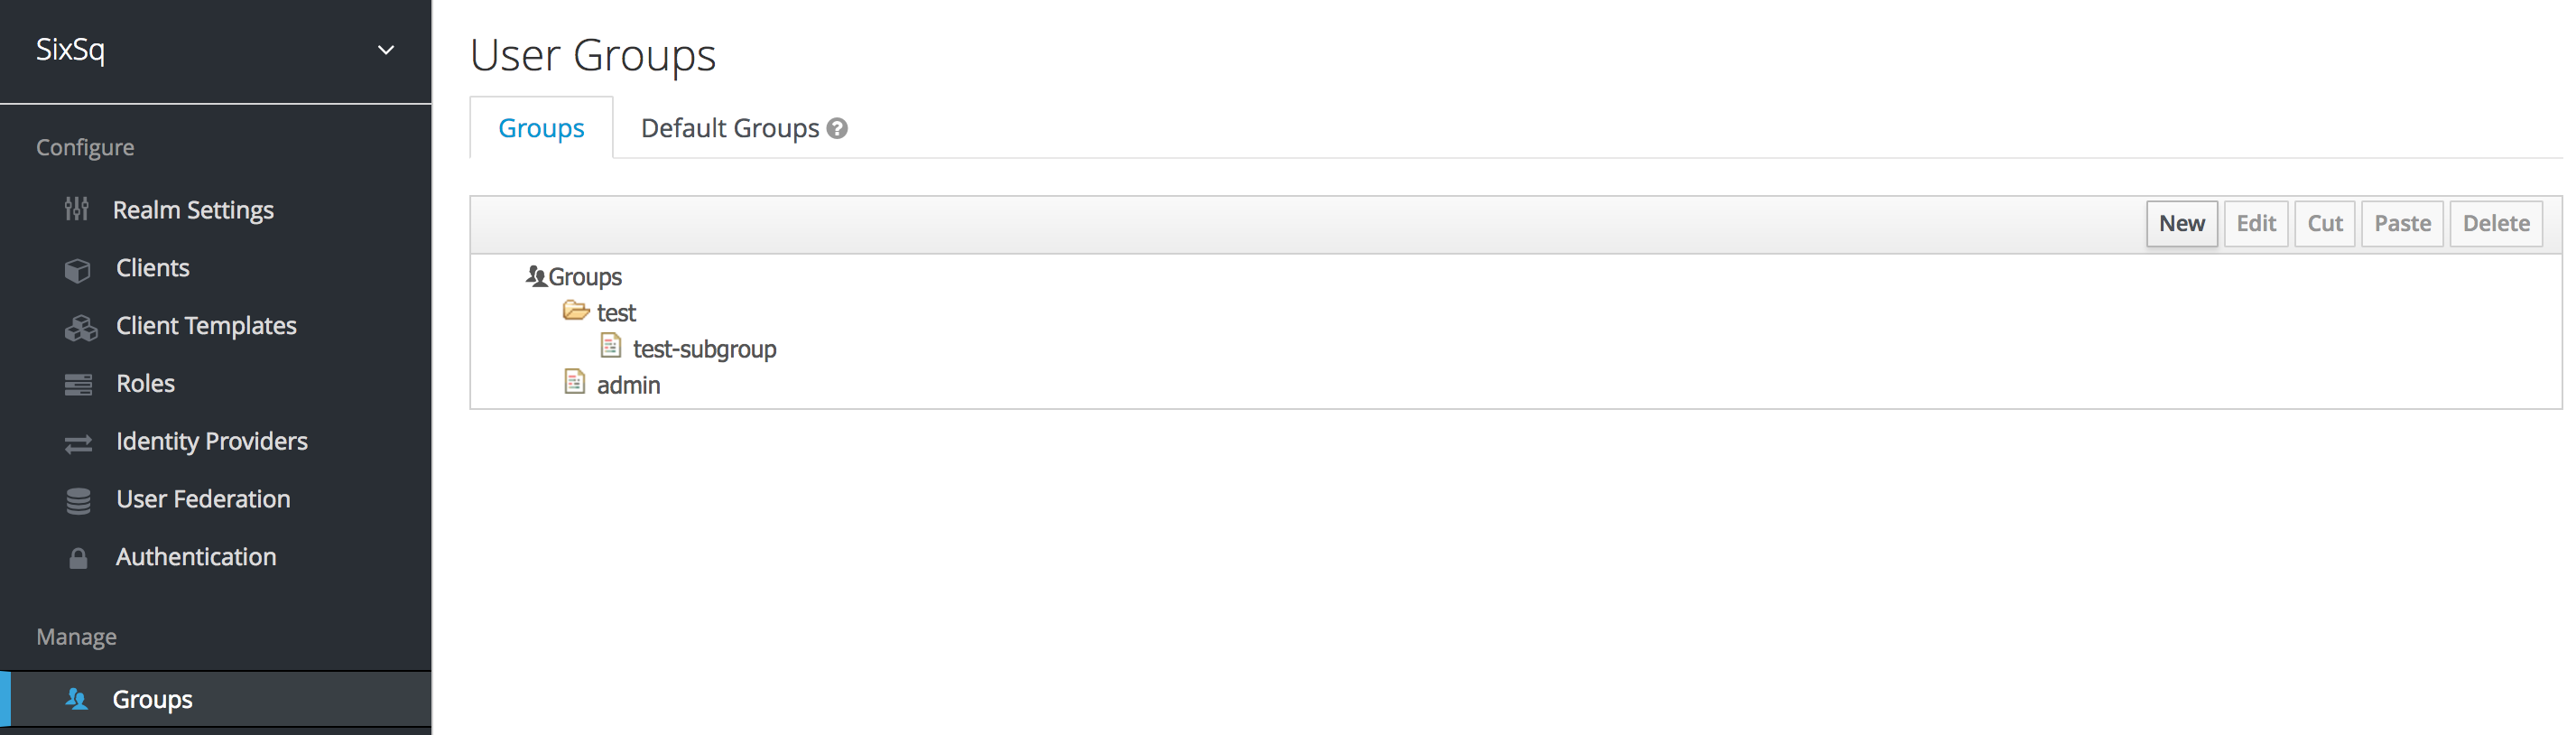
Top Level Group
Without selecting any group (as shown on the figure above), click New and enter your group name.
Upon creation, a new page will show up with the group settings, as shown below:
Here is where the account managers can rename the group, assign custom attributes, see the group members (empty by default), and map the group roles.
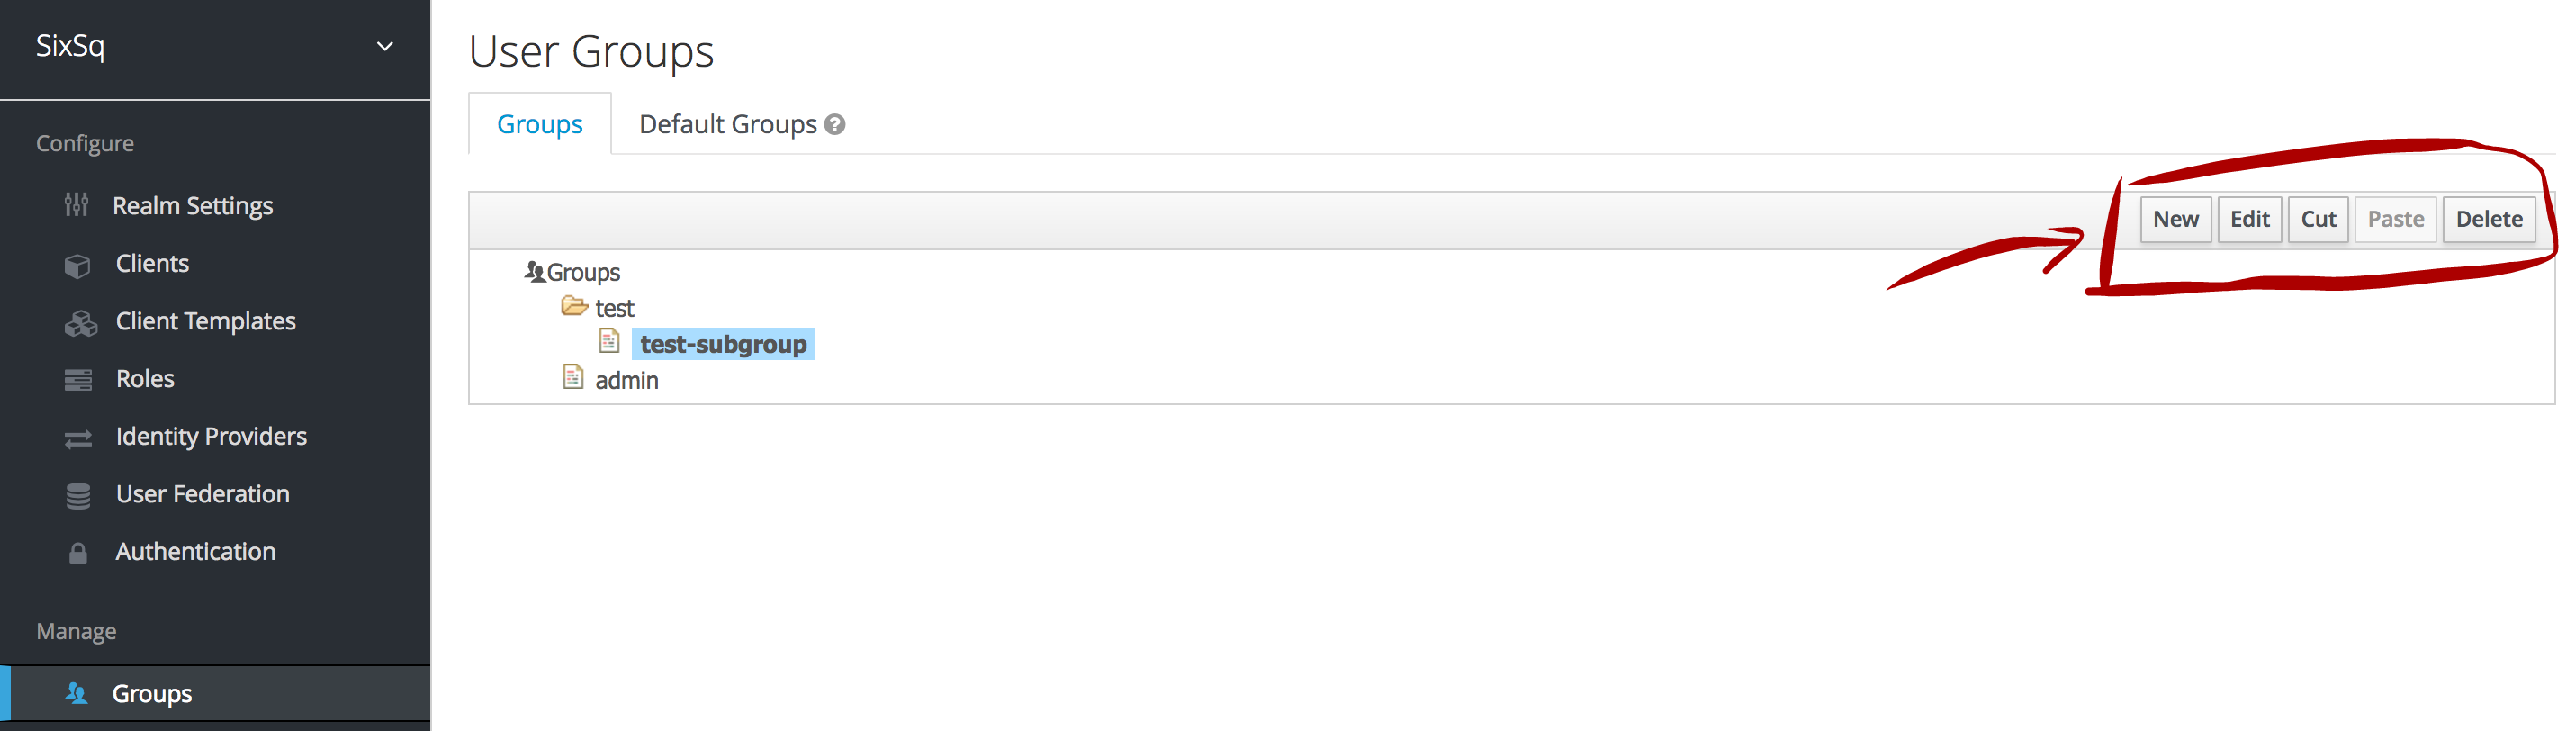
Subgroup
To create a group that belongs to a top level one, the creation process is exactly the same as above, but the account manager has to select the respective top level group before clicking on New:
Once created:
NOTE: please note that subgroups will by default inherit the role mappings from the parent top level groups
Edit, Cut, Paste and Delete Groups
The button panel on the right corner of the groups’ interface allows all the basic group operations:
Default Groups
“Set of groups that new users will automatically join”
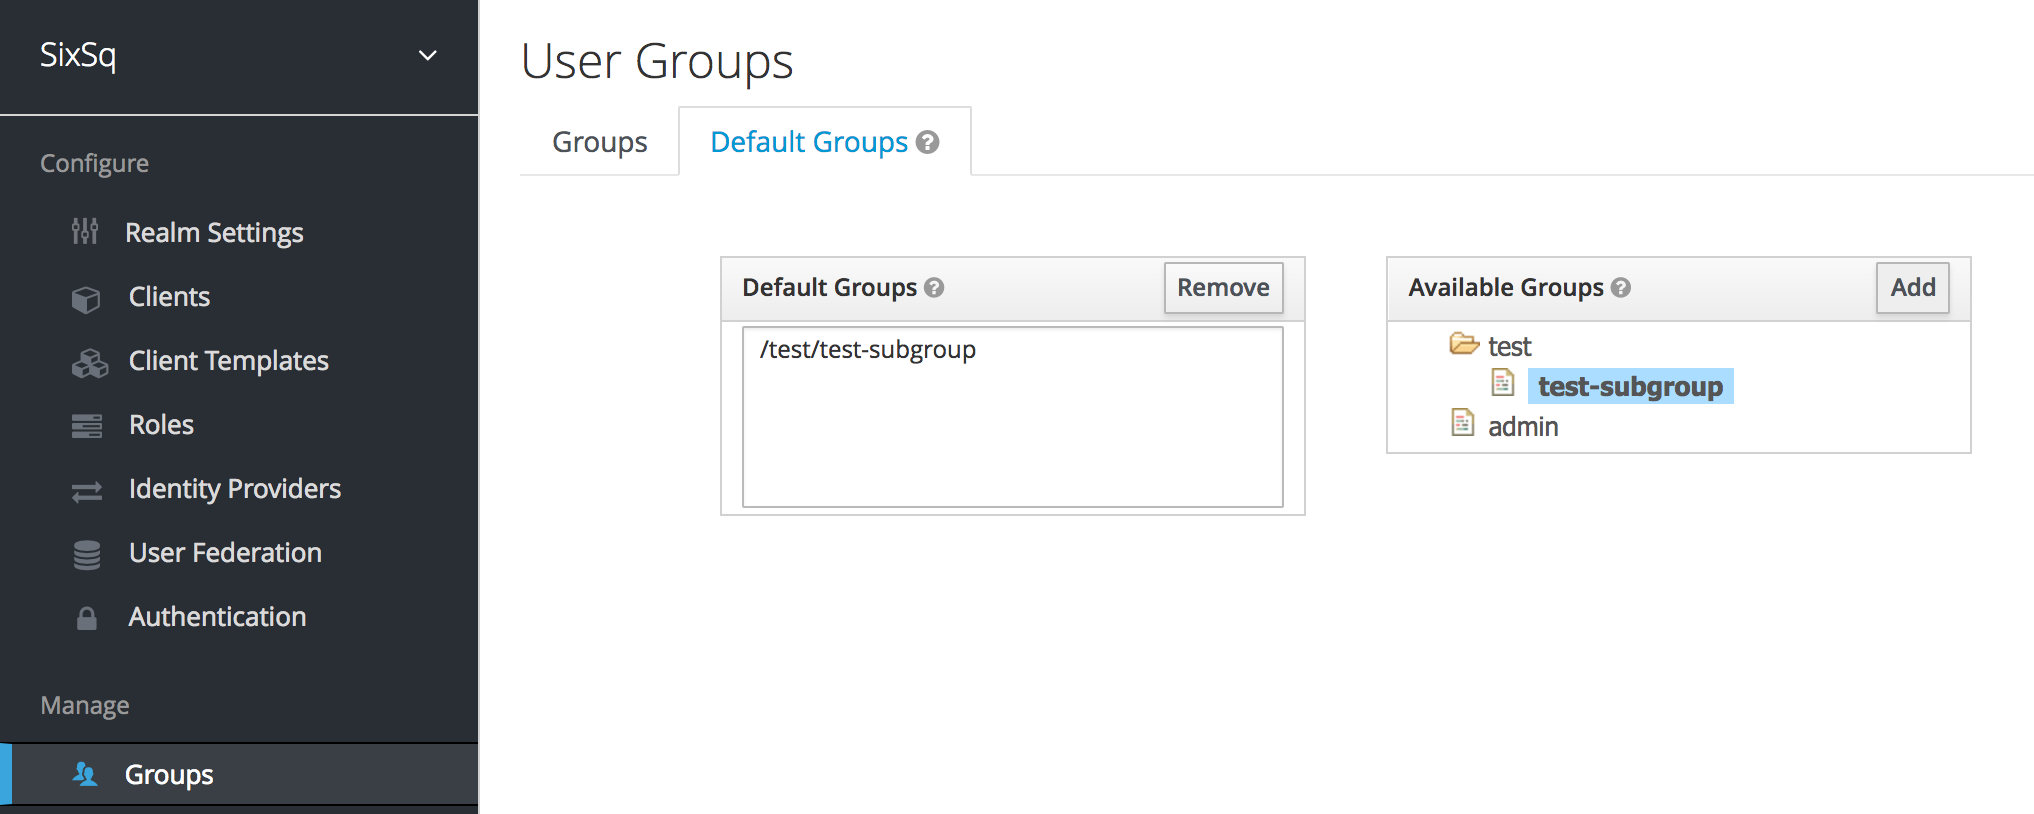
As the above figure shows, new users will now automatically be assigned to the subgroup test-subgroup.